with a fun “Thank you” card this year! I’m releasing my Spin Card and it is sure to put a smile on anyone who receives it!

Here are a couple more that Christina and Bonnie put together:


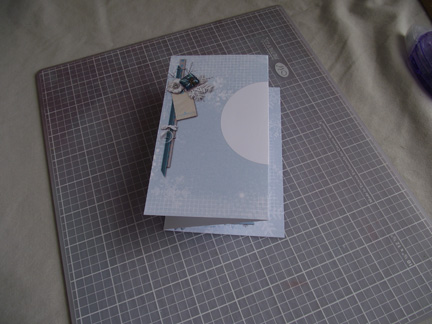
Here are a couple of quick shots of how this one goes together. After you’ve cut out the card, scored and folded it (dashed lines are mountain folds, dotted lines are valley folds) it should look like this.
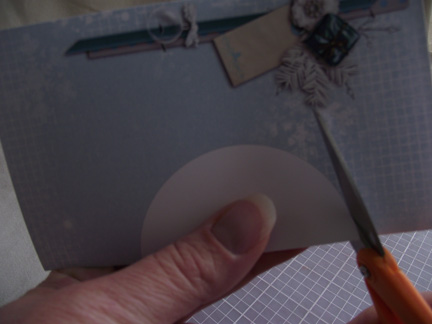
Don’t be intimidated by the circle cut-out in the middle of the card, it’s so easy to cut because it’s on the edge of the fold. Simply cut the semi-circle while the card is folded. Just make sure you only have the front two panels and not all three 🙂
Next you need to prepare your spinner. I covered the back of one spinner with double-sided tape and laid a long length of thread so that it ran parallel to the top and bottom of the spinner. To make sure I got it right, I laid the spinner on the grid marks of my cutting mat so that the top and bottom were along a line. Then placed the thread on the line.
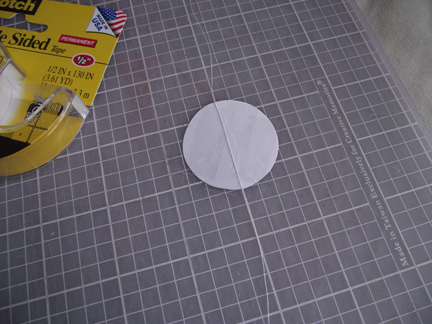
Then carefully place the other side of the spinner so that it lines up with the thread and the same direction as the back side of the spinner 🙂 If you cut out your circles free-hand, like I did, you may have to trim up around the circle so that they are exactly even. Just make sure you don’t cut your thread 🙂
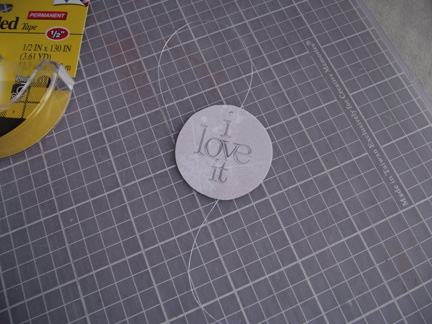
Next you’ll place your spinner in the card. I placed my thread a little more than 1/4 of an inch from the outside edge. Then I taped it on top and bottom. You could also put a piece of double-sided tape down first and then stick the thread to it.
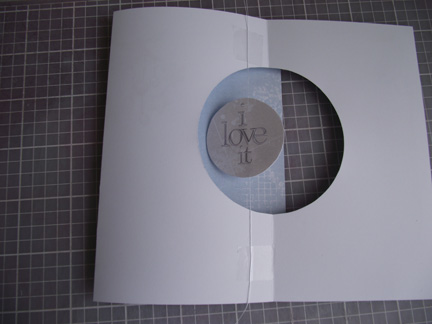
You could cut off the excess thread now, but I found that I wished I could pull my thread taut after I had the whole card assembled. So I would wait until the very end to cut off the excess. Put glue all the way around the edges of the front panel.

Fold the card, starting with the folded edge and smoothing your way to the outer edge. And there you have it!

Now, to make it a true spin card, you need to wind the spinner up! Flip it around and around several times…the more the merrier, I always say! Then carefully place it in your envelope. When your loved one opens the card the spinner will unwind itself and spin its little heart out, lol!
I also have two new layouts…can you believe it? I scrapped this week!!!
They are both using new kits from Memory Clips by Ramona. The first is the Scrap Your Story January kit. You can collect this kit day by day on Ramona’s blog for free, or buy it right now at Scrap Matters!


And this one is a New Release today called “Frosty Flakes”. I used pieces from the whole bundle.


I can’t wait to show you what’s coming out next week! So until next time…